While working on a Unity project for Android I found the need to move the build process to Eclipse. This process used to be complicated and tricky, but thankfully it became rather simple with Unity 4.
Note: The instructions below relate to Windows 7. YMMV.
Before we begin, you’ll need to install two tools:
- Android SDK
- Eclipse + ADT Plugin
You can download them both here. They’re bundled together, named “ADT Bundle”. In the same page you can click “Use an existing IDE” to download only the SDK.
Android SDK
If you’re not familiar with the Android SDK, you should know that it consists of multiple components. After you install it you can manage which components are installed using the SDK Manager. The components that you must have are SDK Tools (installed by default) and at least one SDK Platform. I decided to go with Android 4.0.3 (API 15). Choose whatever suits you. Once you choose your platform, you only have to install “SDK Platform”. The rest is optional. (You may want “ARM EABI v7a System Image” to use the emulator.)
I also recommended installing whatever the SDK Manager suggest under Tools and Extras, namely: SDK Platform-tools, SDK Build-tools, Android Support Library and Google USB Driver.
Invokation Failed
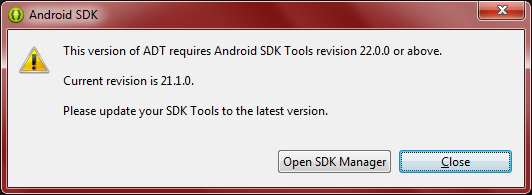
I’ve encountered a bug with version 22 of the SDK. Unity could not build with it. I’d get the following error:
![]()
Edit: This bug seems to have been solved with version 22.0.1 of Android SDK.
At least this is the case with version 4.1.2f1 of Unity. If you have this problem, try downgrading your Android SDK version: Uninstall version 22 and then install version 21 (available here). Strangely enough, after you install version 21 you can let the SDK Manager upgrade “Android SDK Tools” (under “Tools”) to rev. 22 and Unity will still be able to work with it. Voodoo.
After you downgrade to rev. 21 and you’ll be seeing this error each time you open Eclipse:
Don’t worry about it. Just hit Close.
Eclipse & ADT Plugin
If you’ve already built stuff for Android using Unity then you probably already have the SDK installed. You could install Eclipse for Mobile separately and then the ADT Plugin. But you can also download the ADT Bundle and take from it only the “eclipse” directory. It’s a download overkill (>400MB), but it’s easier to install.
Anyway, all Eclipse installations are simply ZIP files. There is no installer. Extract the ZIP file contents to wherever you want, e.g. “C:\eclipse”.
Export Eclipse Project from Unity
It’s time to open Unity. Open the build settings for Android and you’ll see a check box “Create Eclipse project”. Selecting it directs Unity to create an Eclipse project instead of building an APK file. When asked, choose a target directory for the Eclipse project.
Import Project into Eclipse
Open Eclipse. Choose “File => Import”. Under “Android” choose “Existing Android Code Into Workspace”. Fill the “Root Directory” field with the path of the project directory and hit Enter. You should see your project in the list. You might see more than one project if you’re using plugins. Deselect the plugins, you don’t need to import them – they’re included in the main project. Click “Finish”. That’s it. Your project is ready to be built.